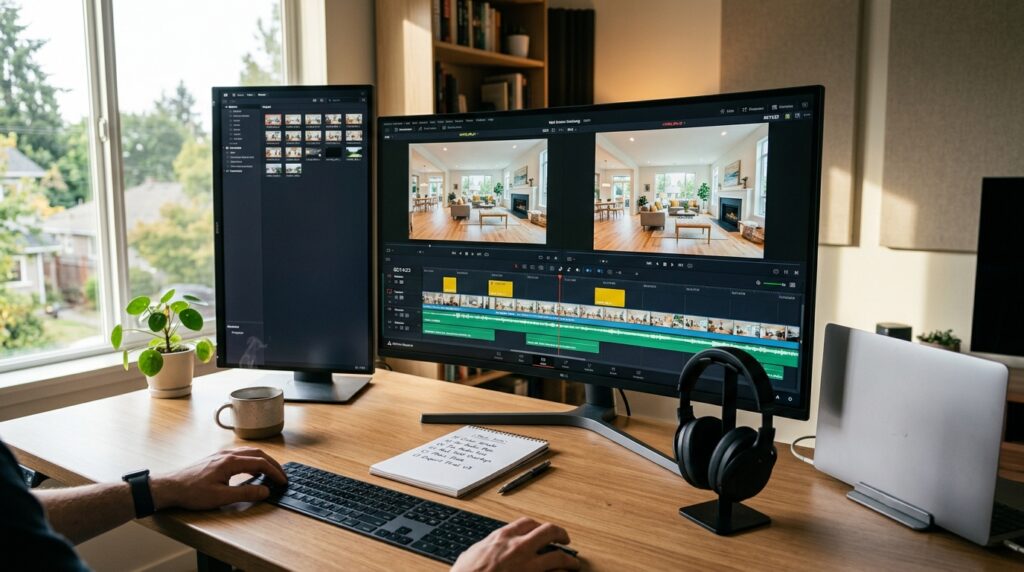
A great listing video isn’t just about good footage — it’s about what happens after the camera stops rolling. Two agents can shoot the same property with the same drone and walk-through footage, and end up with completely different results depending on how the video is edited.
This real estate video editing checklist breaks the process into four stages — pre-shoot prep, footage organisation, the edit itself, and final review — so nothing gets missed before a listing video goes live.
Stage 1: Before You Even Open Your Editing Software
Good edits start before editing begins. Skipping this stage is the most common reason listing videos take longer to finish and still look inconsistent.
Confirm you have all footage: drone/exterior shots, interior walk-through, any agent-on-camera intro, and neighbourhood/lifestyle B-roll. Check footage resolution and frame rate match across all clips — mixing 4K and 1080p, or 24fps and 30fps, causes headaches later. Gather property details you’ll need on-screen: address, price, bed/bath count, square footage, key features. Confirm the agent’s branding assets — logo, brand colours, intro/outro template, contact details. Note the target platform (YouTube, Instagram Reels, MLS listing, Facebook) since this affects aspect ratio and length.
Stage 2: Organise Before You Cut
Editors who skip organisation spend more time searching for clips than actually editing.
Import and label all clips clearly (for example, “Exterior_Drone,” “Kitchen,” “Master_Bedroom”). Scrub through footage once and mark the strongest two or three takes per room. Delete or archive unusable clips — shaky, out of focus, poorly lit — so they don’t clutter the timeline. Group clips by room or area in your timeline before assembling the full sequence.
Stage 3: The Edit Itself
This is where the checklist matters most — these are the details that separate an amateur listing video from one that makes a buyer stop scrolling.
Open strong. Lead with the best shot in the property, usually the exterior or a standout feature, not a slow establishing shot. Keep pacing tight — most effective listing videos run 60 to 120 seconds, so cut anything that doesn’t earn its place. Sequence rooms logically, following a natural walking path through the home (entry, living room, kitchen, bedrooms, outdoor space) rather than jumping around. Colour grade for consistency, matching white balance and exposure across clips shot at different times of day. Stabilise shaky handheld footage rather than cutting it entirely, if it’s otherwise usable. Add clean on-screen text for price, address, and key features that stays readable on mobile, not just desktop. Use subtle transitions — simple cuts or soft crossfades read as professional, while flashy transitions date quickly and distract from the property. Add background music licensed for commercial use, mixed low enough that a voiceover or ambient sound isn’t drowned out. Include a clear call to action at the end — agent name, phone number, and next step, such as booking a viewing or visiting the listing. Export at the right spec for each platform — vertical 9:16 for Reels and Stories, horizontal 16:9 for YouTube and most MLS embeds.
Stage 4: Before You Hit Publish
Watch the full edit on a phone screen, not just a monitor, since most buyers will see it there first. Check captions or subtitles are accurate if included, since many viewers watch with sound off. Confirm all property details on-screen are correct and match the actual listing. Verify audio levels are consistent throughout, with no sudden jumps in volume. Get a second set of eyes on it before publishing — a fresh viewer catches things you’ve gone numb to after hours of editing.
Should You Edit the Video Yourself, or Outsource It?
Running through this checklist properly takes real time — often three to five hours per listing once you include organising footage, colour correction, and revisions. For agents juggling multiple listings, that’s time that could go toward clients instead.
This is exactly why many agents outsource their real estate video editing rather than handling it in-house. A dedicated editor already works through a checklist like this one on every project, which means faster turnaround and more consistent quality without the agent needing to learn editing software.
If you’d rather send us your raw footage and skip straight to a polished, ready-to-publish video, Editors Table specialises in real estate video editing — drone footage, walk-throughs, and agent branding included, with unlimited revisions and delivery in as little as 48 hours.
Ready to hand off your next listing video? Get a free quote from Editors Table.